 Contact Us
 Gift Cards
 Track My Order
 My Account
 Cart
Cart


 United Kingdom · GBP


UCO Mini Lantern Oil Inserts - Coming Soon
ReviewsUCO Mini Lantern Oil Inserts - Coming Soon
After the success of our inserts for the Original UCO Lanterns, we're pleased to announce that we've started work on a new design for the Mini UCO Lanterns.
The first prototype has finished and is working exactly as intended. We'll be releasing a video showcasing the samples on our Instagram in the coming week as well.
A few highlights from the first prototype:
The new threaded base locks the insert firmly to the removable plastic lantern base, making removing and refilling much less fiddly than before. And despite the Mini insert being considerably shorter than the Original, the wider body of the Mini lantern actually gives us a slightly higher fuel capacity - 25.5ml (0.5ml more than the Original inserts), giving a minimum burn time of 4.5 to 5 hours.
Much of the design carries over from the Original - main oil chamber, removable wick screw, and o-rings on all closures. If it works, we keep it.
We're aiming to have these on the shelves within the next 1 to 3 months. Apart from a few minor size adjustments on the next set of samples, the design is nearly finalised.
Any design feedback? We're still at a stage where we can take feedback on board and apply it to the final product. Please don't hesitate to email manufacturing@forestfundamentals.com if you have any ideas, or features you would like to see.
Join the waitlist. The first batch will be small to test the waters, and we'll be opening the listing up to sale to our email subscribers first to ensure that everyone who's signed up gets a chance to grab one. Please enter your email below to join the waitlist.
Thanks for the support.
Elvis & the FF Team
Product Gallery


A Detailed Look at the Design of Our Mini Inserts
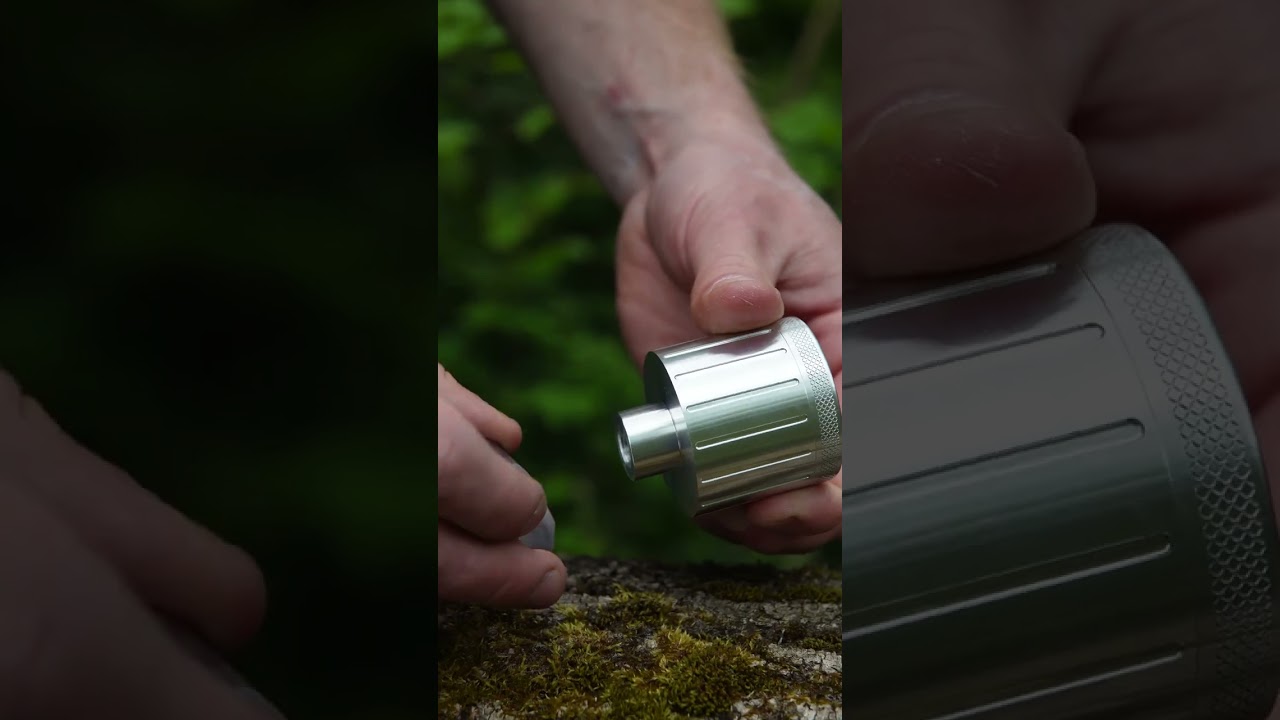 The First Aluminium Prototypes
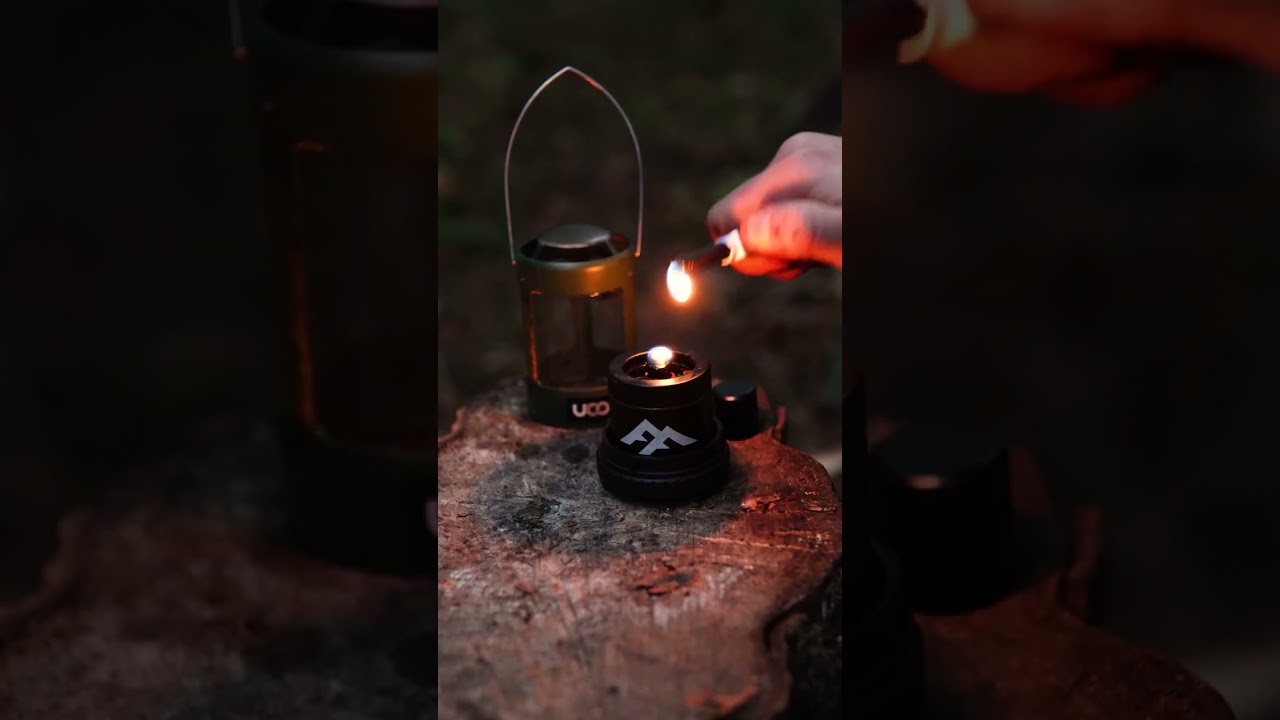 Testing the Second Prototypes in the Woods
The Development of the FF Mini Insert
-

Getting Pencil to Paper Stage 01 · Initial Drawings, Getting Pencil to Paper
As with any new project, the first step is just getting pencil to paper, experimenting with different design ideas.
A lot of the early ideas were taken directly from our original inserts, taking what worked and adapting the dimensions to fit the Mini Lantern.
-


 1 / 4
1 / 42D Computer Modelling Stage 02 · 2D Modelling
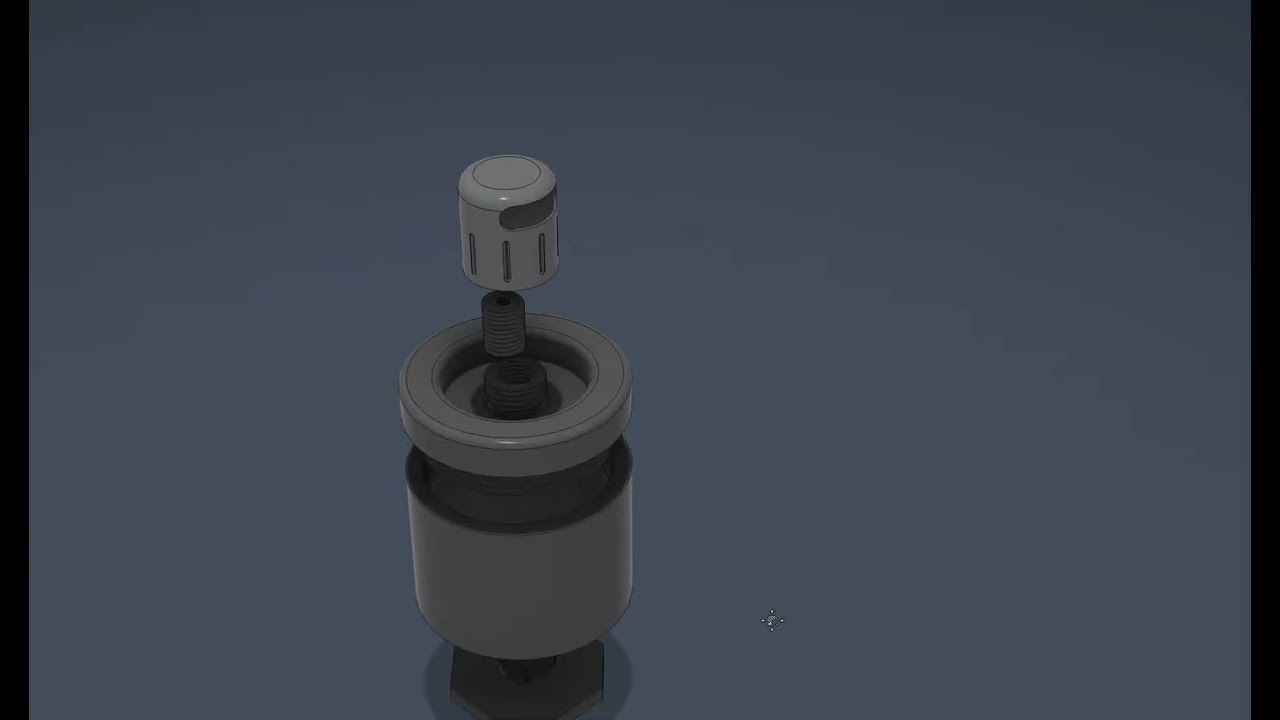
After coming up with the rough concept, we always start modelling in 2D. This is where the bulk of our design work is done.
It’s a lot faster and easier than modelling in 3D, allowing us to try different things and make changes to the design quickly, while still being very accurate.
Once we’re happy with the design, we’ll draft the final 2D drawing before handing it over to the company that does our 3D modelling.
-


 1 / 4
1 / 43D Computer Modelling Stage 03 · 3D Modelling
The next step is the 3D modelling. This is one of the most important stages to get right, as the 3D files are used to produce the parts on the CNC machines, so any mistakes here can be very costly!
Once the 3D modelling is finished, we send the files over to the factory to produce the first set of samples.
-

The Prototypes Arrive Stage 04 · Prototypes
Getting the prototypes is always one of the most exciting parts of the process, seeing something real in your hands after hours of computer work!
During the development of the Mini Inserts, we had to make a total of four sets of samples, repeating the process of 2D design, 3D modelling and then machining for each set.
-

Testing, Testing & More Testing Stage 05 · Testing & Design Changes
During the testing of the various sets of samples, we ran into a few design challenges.
Fuel Rising Too Quickly
One of the main challenges was fuel rising up the wick faster than it was being burnt off. This caused excess fuel to pool at the top of the insert, which got very messy and became unsafe once the fuel started to heat up.
We tried a few different fixes for this, the main one being increasing the distance between the top of the fuel line and the wick opening. Our thinking was that if the fuel had further to travel up the wick, it would rise at a slower rate. That’s what you can see in the photos, us testing different wick lengths.
Unfortunately, this didn’t fix the problem. In the end, we drilled an air vent hole through one of the samples, which seemed to solve it. We tested a few different sized drill bits until we found the ideal size.
Maximising Fuel Capacity
Another major challenge was fuel capacity. With the Mini Lantern being smaller than the Original, we had much less space to work with. The main solution was to considerably reduce the wall thickness of the fuel chamber.
Although this sounds like a simple fix, it required lots of small adjustments to the rest of the design to make sure the new wall thickness worked with all of the other parts.
Getting the Flame Height Right
A by-product of trying to prioritise fuel capacity was that the insert ended up being too tall. This meant the flame sat too close to the top of the lantern, causing it to be extinguished in the wind.
We tried a few different solutions, eventually moving the wick opening further down inside the insert, which fixed the issue.
Lots of Testing!
Luckily, we were able to take a lot of the lessons we learnt while developing the Original Inserts and apply them here. Nevertheless, there was still plenty of back and forth: testing, making changes and trying different solutions until we had fixed every issue we identified along the way.


Frequently Asked Questions
The rate of fuel consumption depends largely on the flame size. With a standard flame (using 2mm or less of wick), 25ml of fuel provides approximately 4 hours of burn time. A larger flame will increase fuel consumption, reducing overall burn time.
Yes, the inserts are designed to be completely watertight. After securing the lids, there may be slight leakage initially due to excess fuel being compressed out of the O-rings. Once wiped away, no further leakage will occur. To prevent leaks, ensure the caps are tightly secured.
The oil inserts are compatible with kerosene, scented lamp oils, and paraffin oil. However, we recommend using only lamp oil or paraffin oil, as they are less flammable than kerosene and provide a more stable flame. We have included a link in the instructions to the most affordable paraffin we could find on Amazon. Some customers have also said that they’ve had good success using methylated spirits.
The total burn time depends on the flame size. With a standard flame (using 2mm or less of wick), 25ml of fuel (a full insert) provides up to 4 hours of burn time. A larger flame will consume fuel more quickly, reducing total burn time.
With 2mm of wick exposed (to produce the standard flame size), you can expect around 4 hours of burn time. Since the wick burns slowly, replacements are rarely needed. However, if the wick becomes too short, it will not reach the bottom of the container, preventing the remaining fuel from being drawn up and used.
We recommend using a 10–15cm wick and replacing it every 5–10 uses.
Yes. One of the key advantages of oil inserts over standard candles is the ability to adjust the flame size. This can be done by pulling the wick through slightly to expose more wick, which increases the flame size.
The lanterns function well with a larger flame, although this may cause increased soot buildup, which can be easily wiped away after use. The soot does not damage the lanterns.
Yes, after prolonged use or when using a larger flame, soot will begin to accumulate, mainly on the metal top of the lantern and around the glass. While it can be a bit messy to clean, it does not damage the lantern and can be easily wiped off after use.
Using 2mm or less of wick to produce the standard flame size results in significantly brighter illumination compared to candles. Oil burns more efficiently, producing a stronger light while also being more resistant to wind.
Additionally, the adjustable wick allows for greater control over flame size and light output.
The oil inserts are covered by a 10-year warranty that guarantees protection against defects in workmanship and materials. If you encounter any issues with the inserts, feel free to reach out to us. We're happy to help.
Please note that the warranty does not cover damage resulting from misuse, neglect, or improper handling.
Yes, full instructions and how-to videos are included. We can also provide PDF instructions in different languages upon request.
No, this is not a UCO brand or affiliated product. It is designed by Forest Fundamentals to be fully compatible with UCO Original Lanterns, but it is not manufactured or endorsed by UCO.
This product is designed and manufactured solely by Forest Fundamentals.
We ship all orders within 1–2 days.
Delivery times:
UK: 2–4 days
EU: 3–6 days
USA: 4–7 days
If delays occur, we'll notify you promptly. All international orders include door-to-door tracking.

